Is your grow on track, or are you flying blind through the weed plant stages?
Many new growers plant a seed or receive a clone and hope for the best. Without clear milestones, it’s easy to misread what the plant needs, or worse, miss the window for action altogether.
Each phase in the cannabis life cycle brings its own changes, challenges, and decisions.
This guide breaks down every stage of cannabis growth, highlighting what to look for, how long it typically lasts, and how to adjust your setup as your plant evolves. You’ll also learn what seasoned growers wish they knew earlier, how to avoid stage-specific problems, and when to make critical moves like topping, training, or flipping to flower.
Let’s get into it.
Weed Plant Growth Cycle Overview
A clear grasp of this timeline helps you prevent mistakes, respond quickly to plant signals, and create better growing conditions at every phase.
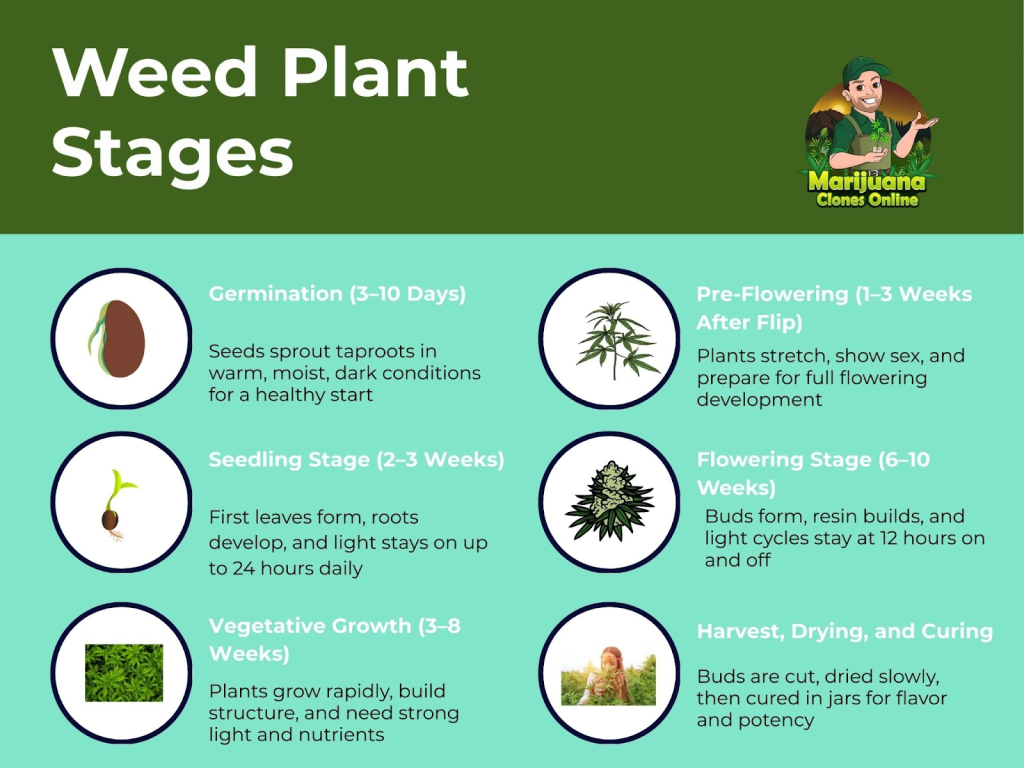
- Stage 1: Germination
- Stage 2: Seedling
- Stage 3: Vegetative Growth
- Stage 4: Pre-Flowering
- Stage 5: Flowering
- Stage 6: Harvesting
- Stage 7: Drying and Curing
Each stage brings changes in leaf shape, root growth, feeding needs, and light timing, as you will see in the next section.
Germination (3–10 Days)
This is where the cannabis life cycle officially begins. A healthy start during germination builds the foundation for everything that follows. The seed begins to crack open, revealing the taproot that anchors the plant and starts nutrient uptake.
Conditions during this time must remain stable and clean to avoid mold, rot, or stalled growth.
Seeds require warmth between 70 and 85 degrees Fahrenheit, steady moisture, and darkness to trigger the natural response to sprout. Overwatering remains the most common mistake here. Soaked seeds suffocate and die before ever emerging. Slight moisture, not saturation, gives the best results.
Growers use different methods to start seeds. Each one works, but the goal stays the same: create a clean, moist environment that allows the root to emerge safely.
- Paper towel method: Place seeds between damp paper towels, then seal inside a plastic bag or between two plates. Keep warm and check daily. Once the taproot appears, gently move the seed into your growing medium.
- Starter plugs or cubes: These premade plugs hold moisture well and make transplanting easy. Drop the seed into the plug, place it in a humidity dome or covered tray, and maintain warmth and light moisture.
- Direct to soil: Some growers plant straight into soil about a half inch deep. Use light, fluffy soil designed for seedlings and keep the top layer consistently moist. Avoid packing the soil down, as this can block the root.
Each method has pros and cons, but the key is to avoid disturbing the root once it emerges. Taproots are fragile and break easily, which can ruin an otherwise viable seed. Use clean tools, avoid touching the root, and transfer carefully if needed.
Seedling Stage (2–3 Weeks)
Once the seed breaks the surface, the cannabis plant enters its seedling stage. This is where the first true leaves appear after the round cotyledons. Growth starts slowly here, but every day sets the tone for the plant’s overall health.
The root system begins to branch out, the stem thickens, and leaf count increases. Each new leaf typically adds more blades, moving from single to three to five and beyond.
Seedlings thrive in warm, humid conditions. Temperatures between 70 and 80 degrees Fahrenheit and relative humidity around 65 to 80 percent help the young plant stay hydrated while its roots develop. Light should remain on for 18 to 24 hours a day during this stage, using gentle LED or fluorescent bulbs.
If you’re looking to skip the seed germination stage entirely and shave a good month of time and stress off your total grow time, try out our feminized cannabis clones. They come fully rooted at 6″ tall and above so you can just transplant and go!
Here are tips to help you through this stage:
- Watch for early stretch: If the plant becomes tall and spindly with long gaps between nodes, the light is likely too far away. Move it closer to keep the stem short and strong.
- Leaf crinkle or twist: This often comes from humidity swings or unstable temperatures. A gentle fan and consistent airflow can help stabilize the microclimate around the seedling.
- Feeding caution: Most seedlings require little or no added nutrients for the first week or two. Pre-charged soil or seedling blends usually provide enough to carry them through this stage. Feeding too early causes tip burn or stunted growth.
- Watering strategy: A fine mist around the base of the stem helps roots chase moisture downward. Soaking the entire pot too early may drown the roots before they spread.
Vegetative Growth (3–8 Weeks)
This is the stage where cannabis starts to grow with power. After the slow and steady pace of the seedling phase, the plant shifts into rapid development. Fan leaves grow larger, stems thicken, and roots begin to spread deeply into the soil. New branches shoot from the nodes, giving shape to what will eventually carry heavy, resin-rich buds.
Plants need more energy during this stage, and they demand both consistency and structure. Light plays a major role. Photoperiod strains remain in vegetative growth as long as they receive 18 hours or more of light daily. You should also be sexing your plants in this stage to identify male cannabis plants before the flowering stage.
Most indoor growers use an 18/6 cycle to allow a small dark period for plant respiration. Autoflowers, on the other hand, begin to transition on their own after about three weeks, regardless of the light schedule. You also want to do your cannabis cloning during this stage, and not wait until your plants start the flowering stage.
Nutrients also shift in focus. Nitrogen becomes a priority because it fuels the development of leaves and stems. Without enough nitrogen, leaves pale and growth slows. Too much, though, leads to dark, clawing leaves and delayed transitions later on.
This is also the stage that’s perfect for topping cannabis plants for a number of benefits including height management for indoor growers.
To get the most out of this stage, follow these tips:
- Top the plant after four or five nodes to encourage lateral growth and even canopy formation.
- Start low stress training (LST) by gently bending and tying down branches to increase light exposure to lower bud sites.
- Transplant from solo cup to 1-gallon pots once roots begin circling the bottom. This helps prevent root binding and supports better nutrient uptake.
- Move to final containers (like 5-gallon pots) once the plant fills out the 1-gallon size. Skipping pot sizes can result in overwatering and poor root health.
- Use trellis nets or begin SCROG setups during this stage, especially for tall or stretchy strains.
Pre-Flowering (1–3 Weeks After Flip)
This transitional phase sets the stage for bud development. Pre-flowering begins shortly after the light schedule shifts to 12 hours on and 12 hours off. In outdoor settings, this shift happens naturally as daylight hours shorten toward the end of summer.
During this window, the plant focuses on stretching, showing its sex, and preparing to bloom.
Growth often accelerates in the first week or two. Plants can double in height during this time, especially sativa-leaning varieties. Many growers underestimate how quickly this stretch happens and end up with crowded canopies or lights positioned too close to the tops of their plants.
Sex expression becomes visible during this stage. Plants will reveal either pistils (female) or pollen sacs (male) at the nodes. Females show fine white hairs, while males form rounded, ball-like sacs. This is the time to identify and remove male plants if you’re growing from regular seeds and want to avoid pollination.
Pre-flower is also the stage where small mistakes can trigger larger problems. Light leaks, unstable temperatures, or rough training can shock the plant, leading to stunted buds or hermaphroditic traits. Plants must receive complete darkness during the 12-hour dark cycle with no interruptions.
Flowering Stage (6–10 Weeks)
After weeks of building structure, your cannabis plant finally starts focusing on producing flowers loaded with trichomes, aroma, and cannabinoids. The shift is easy to spot. Instead of leafy growth, you’ll start to see pistils forming at the tips of branches. These hairs signal the beginning of bud development.
During this stage, nutrient needs shift heavily toward phosphorus and potassium to support flower formation. Nitrogen takes a back seat.
The environment plays a larger role now too. Humidity must drop, airflow must increase, and canopy space becomes more limited as buds swell. The wrong conditions during flower can lead to bud rot, pest pressure, or poor resin development.
Split it into key substages to make the most of flowering:
Week 1–2: The Stretch
Growth accelerates again. Plants often double in height during this window. Some call this “flower stretch.” Branches lengthen, and plants shoot upward quickly.
Week 3–5: Bud Formation Begins
Small clusters of white pistils turn into recognizable flower sites. Calyxes stack and the first trichomes begin forming on sugar leaves.
Week 6–7: Resin, Scent, and Size Increase
Trichomes start appearing in full force. Aromas intensify. Buds fatten and become more frosty. This is when scent control and airflow are most important.
Week 8+: Ripening Phase
Buds swell further, pistils begin to darken and curl inward. Trichomes move from clear to cloudy or amber depending on ripeness. This is the final push before harvest.
Smart growers take their flower stage seriously. Every decision echoes into yield and potency. Try these focused strategies to dial it in:
- Control humidity below 50 percent to prevent mold while buds thicken. Use a dehumidifier if needed.
- Rotate pots or adjust canopy spacing to prevent shaded lower branches and create uniform bud development.
- Position fans at canopy level to keep air moving and avoid hot spots. Still air is where mold takes hold.
- Support heavy branches with plant ties or stakes before they begin to bend or snap.
- Avoid high-nitrogen feeds after week 2 of flower. Stay focused on bloom boosters with high P and K values.
Harvesting Time
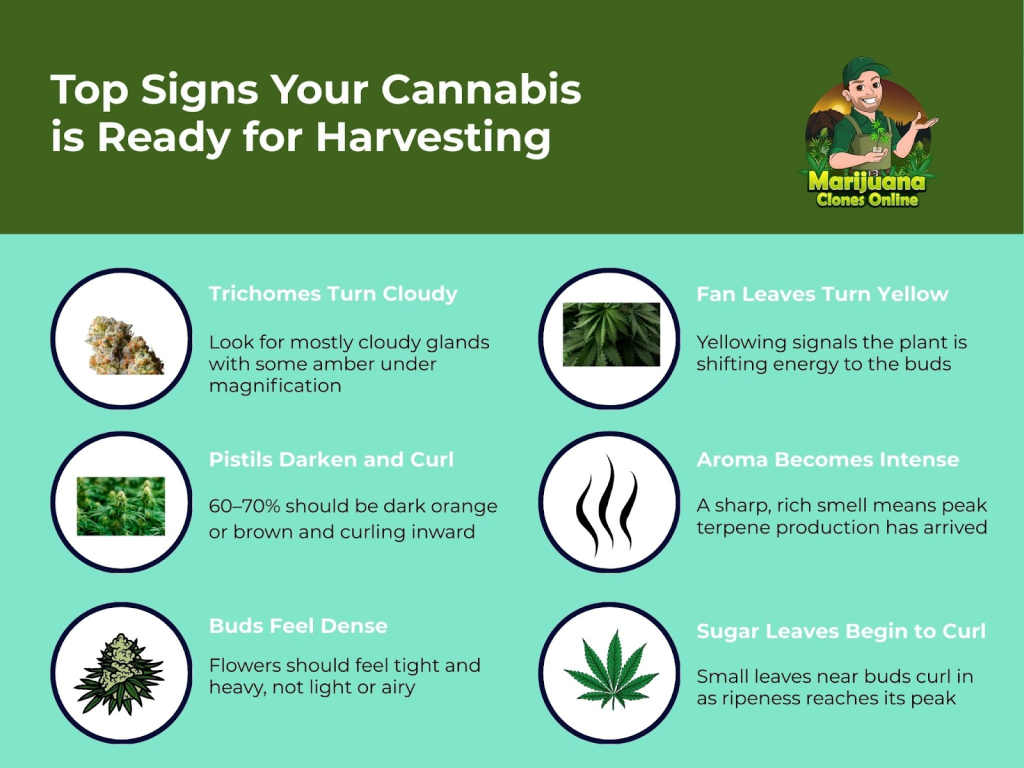
This is the moment everything builds toward. After weeks of feeding, shaping, and fine-tuning the environment, your plant finally reaches full maturity.
The clearest sign that a plant is ready to harvest comes from the trichomes. These tiny, crystal-like resin glands coat the buds and sugar leaves. Growers use a jeweler’s loupe or digital scope to inspect them up close. Clear trichomes mean it’s too early. Cloudy trichomes indicate peak THC levels. Amber trichomes lean toward a more sedative, body-heavy effect.
Many growers try to use pistil color as a signal, but this method alone often leads to early harvests. Pistils can change due to wind, heat, or even brushing against them. Trichomes are the true guide.
The harvest process itself takes patience and care. Some growers cut the whole plant at once. Others harvest branch by branch depending on ripeness. In either case, the goal is to preserve as much resin and aroma as possible.
Follow these tips to lock in the best results during harvest:
- Use clean, sharp scissors or shears to prevent crushing stems and damaging resin heads.
- Turn off grow lights for 24–36 hours before harvest to boost terpene preservation and reduce plant stress.
- Cut during the plant’s dark period to protect cannabinoids from light degradation.
- Remove large fan leaves first, then trim sugar leaves carefully to avoid knocking off trichomes.
- Work in a cool, low-light space to keep buds sticky and reduce terpene evaporation.
Drying & Curing
The grow might be over, but the work is not. Drying and curing are the final stages that decide whether your harvest smokes smooth, hits hard, and tastes how it should. Many growers overlook this phase or rush through it. That decision costs them flavor, potency, and shelf life. A great cure elevates a good grow to top-shelf quality.
Drying begins as soon as the plant is cut. Moisture must leave the buds slowly and evenly. Conditions matter more here than almost anywhere else in the grow. Aim for 60 degrees Fahrenheit and 60 percent humidity in a dark, well-ventilated space. This balance prevents mold while protecting terpenes and cannabinoids.
The drying process typically takes 7 to 10 days. Buds are ready when small stems snap instead of bending. At that point, the cure begins. This stage removes the last bits of internal moisture and unlocks full flavor and aroma.
Curing takes place in sealed containers like mason jars or food-safe bins. The process can last anywhere from two weeks to several months. During the first week, jars should be opened once or twice per day to release excess moisture. This step, called “burping,” prevents mold and allows oxygen to refresh the curing environment.
Dial in this stage with these best practices:
- Hang trimmed branches upside down or place buds on drying racks in a room with circulating air.
- Keep light exposure to a minimum to preserve color and cannabinoids.
- Use hygrometers inside jars to monitor humidity during curing. Ideal range is 58 to 62 percent.
- Open jars daily for the first 7 days, then taper to every few days as buds stabilize.
- Store cured buds in a cool, dark place to protect them long-term.
How Clones Change the Timeline
Clones give growers a serious head start in the following ways:
No Germination or Seedling Phase
Seeds can take up to 10 days to germinate and another 2 to 3 weeks to fully develop into strong seedlings. Clones arrive already rooted, often between 6 to 12 inches tall, with several nodes and a healthy leaf set. This shaves off the entire first month of the growing process.
Clones also remove the guessing game around sex. There’s no need to wait and check for pistils or pollen sacs, as every clone is a female cut taken from a mother plant that has already proven its worth.
Faster Transition Into Veg and Flower
A rooted clone placed in the right environment can begin vegetative growth almost immediately. There’s no “catch-up” period or risk of slow-starting genetics. Many growers veg clones for 1 to 3 weeks before flipping to flower, depending on space and yield goals.
Offer Reliable Genetics and Consistent Results
Clones are genetic copies. That means the plant you grow now will match the plant it came from in structure, flavor, potency, and yield, assuming it’s grown under similar conditions. This consistency is a huge advantage when dialing in feeding schedules, canopy planning, and environmental settings.
Clones also come from proven mother plants.
Eliminate Risk in Early Stages
Many growers lose time and money in the early phases. Seeds fail to crack, seedlings damp off, or turn out male. Clones skip all of that. They arrive hardened, pest-free, and ready to transplant. With proper care, the success rate of clones is dramatically higher than seeds.

Ready to Skip the Slow Start?
Order pest-free, phenohunted cannabis clones and get a 4–6 week head start with exclusive genetics from Marijuana Clones Online.